Viewing entries tagged
lighting

Comment

Lighting Presentation in Dutchess County

It's been awhile since I've blogged, so I need to get back on the horse. I know blogs drive SEO and help business, but business has been so good, I haven't had much time to write and post.

Last Thursday I presented my photographic lighting program "One Light, Two Light, Red Light, Blue Light" to the Dutchess Regional Professional Photographers (DRPP) in Fishkill, NY. Here is the write-up that will go out with their President's Message. Writeup and photos of me provided by Steve Lynch, DRPP.  Used with permission.

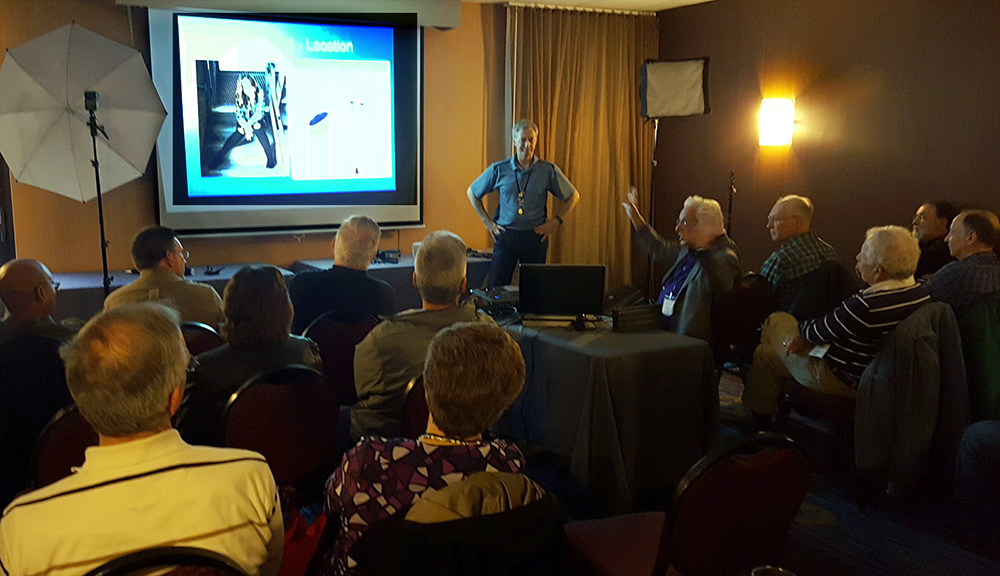
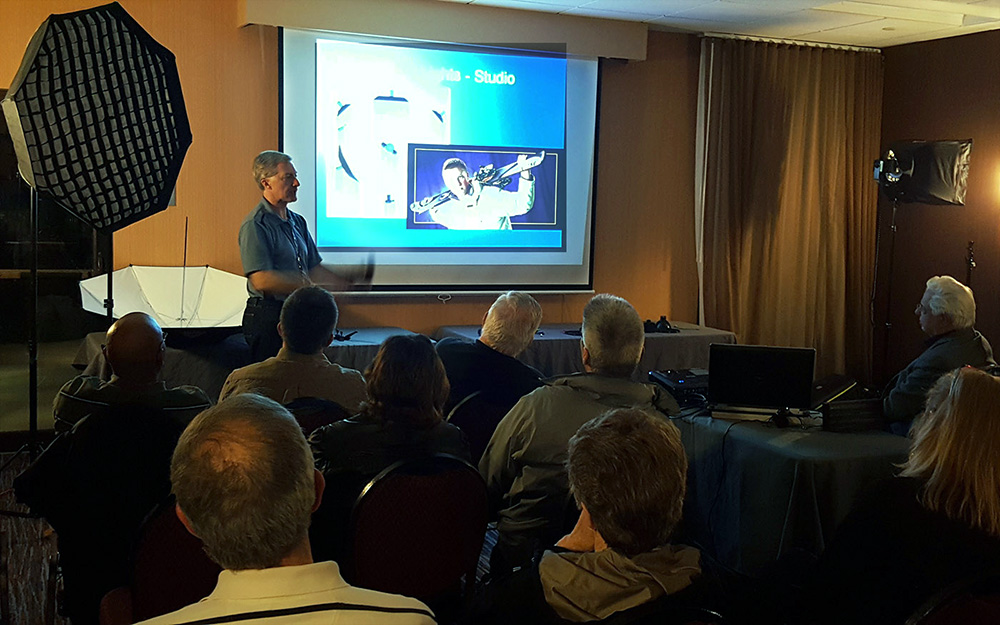
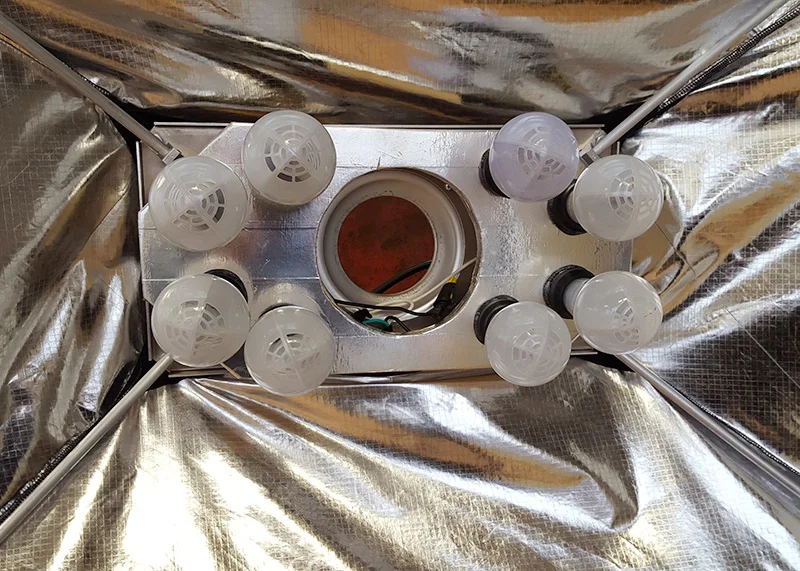
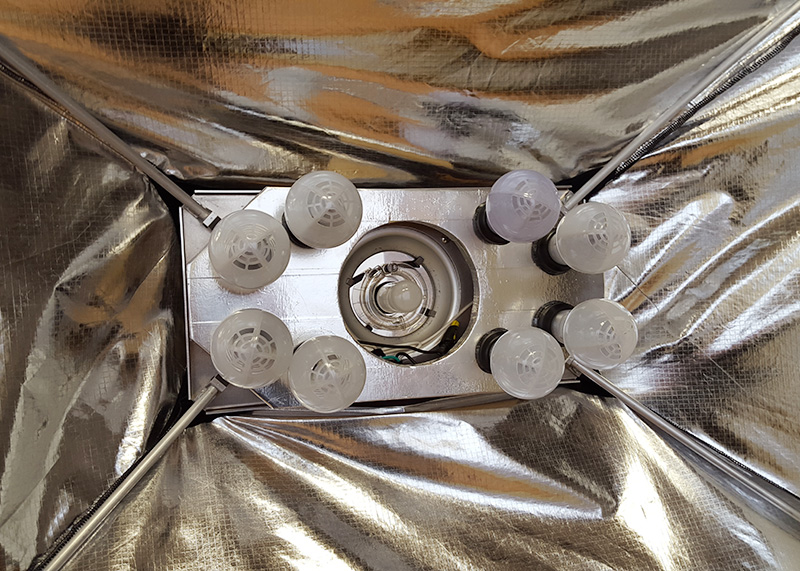
Patrick Luke, President of the Professional Photographers Society of New York State, (PPSNYS) gave an excellent presentation on Studio Lighting and also "On Location" lighting techniques using One Light, Two Lights . . . and up to Five Studio Lights with three reflectors.

His presentation was both informative and very entertaining.   Although it was a bit lengthy - ending at about 9:45 PM . . . NO ONE left the meeting early!    Pat specializes in photographing High School Seniors in the Rochester, NY area, and he said that he always interviews them beforehand to find out their likes and special interests - athletic sports team, or perhaps plays a musical instrument - and then he personalizes their photo shoot accordingly.

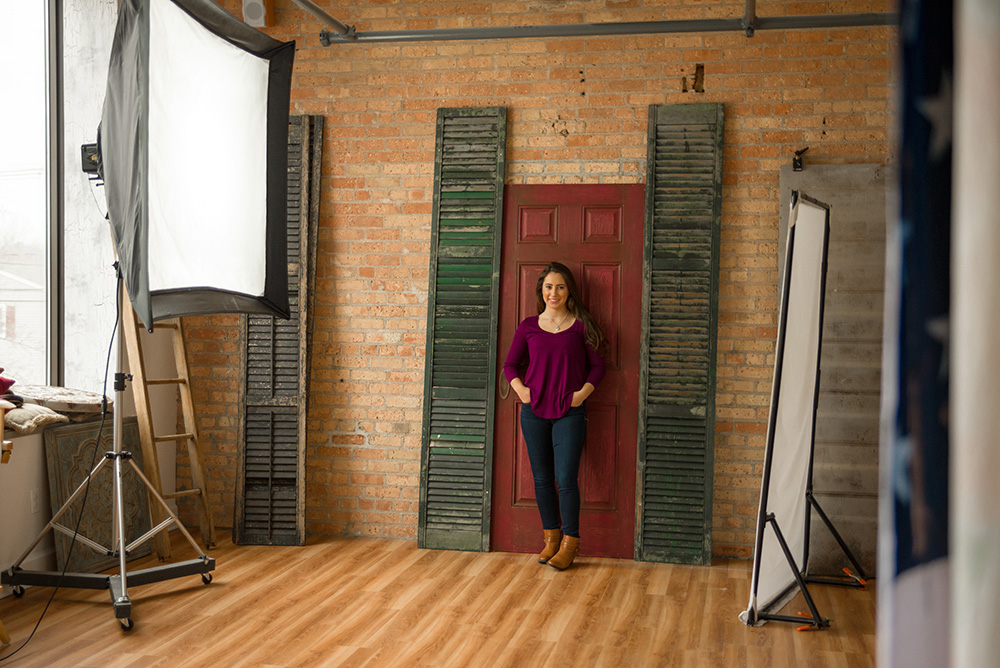
For example, one High School Senior was on the school's soccer team, and so Pat set up his "On Location" lights on the soccer field and then had the student's mother throw the soccer ball up in the air, and the Senior jumped up about 4 or 5 feet into the air, and did a "Scissor Kick" . . . and Pat looked at the back of his camera and said:   "OK Perfect - GOT IT" !     ONE SHOT - Picture Perfect ! ! !   See photo attached - which was "Copiedright" without permission from Pat's Website.

To view a selection of Pat's High School Seniors and other portrait photos, go to his website:   www.LukePhotography.com

Comment

DIY Continuous Light Adapter for 4'x6' Soft Box

Comment

DIY Continuous Light Adapter for 4'x6' Soft Box

One of the camera rooms at the Luke Photography studio is a 700 sq.ft. daylight-lit room on the 2nd floor of the building with five 7 ft. tall windows along one wall (west-facing).  On a normal day, the light in this room is perfect for portraits...very soft, but directional, and I get great exposures shooting at 800 ISO, f2.8 at approximately 1/400th of a second (on average).  However, on darker cloudy days, there is at least a two to three stop difference in the light....enough so that I am not happy with the settings I have to use to get a proper exposure.

I have another camera room that is outfitted with strobes, and that is where I prefer to keep them, and I prefer to shoot natural daylight in this 2nd camera room.  I have a Larson 4 ft. x 6 ft. soft box permanently attached to a DIY rolling base in the daylight camera room, but I'd prefer to shoot continuous light instead of strobe, so I needed a continuous light source, but I didn't want another piece of equipment in the room, so I decided to make a continuous light adapter to fit inside the 4 ft. x 6 ft. soft box, without affecting its ability to be outfitted with a strobe simultaneously.

I designed a hexagonal plate made out of 3/4" thick plywood that could be securely attached to the base plate of the soft box, with a hole in the middle that would allow the strobe to be attached and used without affecting the quality of light.  I drilled eight large holes that would accept rubberized light bulb sockets (purchased at the local big box hardware-home goods emporium).  I glued pieces of plywood to the back side of the wooden base plate so that it would sit approximately one-and-a-half inches away from the metal base plate to allow room for the wiring. The frontward-facing side of the wooden base plate was covered with aluminum tape, so that it had a reflective surface and would bounce any light forward.

The rubberized light sockets were epoxied into the holes and allowed to dry.  The light sockets were all wired together in series.  I purchased a 6 ft. extension cord with male and female ends that matched the cords used by the Alien Bees strobes I already use in the studio.  The male end of the extension cord was cut off, and the cut end was wired to the rubberized light sockets, so that the female end hung free and would be used to connect to the strobe power cords that get plugged into the power source.

The light was provided by 60 watt LED bulbs that are rated at 5000K.  The Cree bulbs that I purchased had a fairly high color rendering index (CRI) which indicates that it produces more full-spectrum light.  Bulbs with low CRI only provide light from a few areas on the ROYGBIV spectrum, and while the light may still look white to our eyes, the fact that it uses light from only a few areas on the spectrum will result in spotty and often very poor skin tones.  I did not need to buy the strongest wattage bulbs I could find.  I only needed bulbs that would get me back to my preferred natural day light exposure and make up the 2 or 3 stops of light that was lost on a cloudy day.

After the wooden plate was screwed to the metal base plate and the soft box was assembled, the bulbs are screwed into the light sockets, and front diffusion screens are re-applied to the soft box.  Once the strobe is re-attached to the metal base plate of the soft box, the strobe and continuous light adapter can be used independently of each other.  If I need to use the strobe, the power cord is attached to the strobe.  If I want to use continuous light, I power down the strobe, unplug the power cord, and plug it into the female adapter for the continuous light source.

Total cost for the project was less than $100 USD, and most of that budget was eaten up by the LED bulbs.  I already had the wood, aluminum tape, and wiring, so the only other purchase was the rubberized light sockets and the extension cord.

The continuous light is all but identical to the light provided by the strobe in the soft box.  I created a custom white balance for the continuous light adapter using the Passport Color Checker, so if there are any disparities in the white balance and color spectrum, they are normalized.  Now whether I am shooting in this room using natural ambient light coming through the windows or using the continuous light adapter on a particularly cloudy day, the camera settings are identical, without the need for any other equipment on the floor.

Comment