Marissa, a Model Rep. from Fairport HS, came in for the studio portion of her three sessions, and we were able to explore a whole series of looks and moods with her. She is one of the most photogenic subjects that have come through the studio. The term "photogenic" does not mean beautiful, pretty , or cute. It relates to their comfort level in front of the camera, which she is in total control of. She is able to turn on a beautiful smile in a quarter of a second, turn it to a sly smile ("I know something you don't know..."), and then has a stunning look when the smile leaves her face, that really shows off her eyes. Take a look through these and you can see exactly what I mean.
Viewing entries tagged
studio
Sarah is very social, out-going, fun-loving and is one of this year's Model Reps. from Fairport HS. She loves shopping and softball, and has an infectious laugh, which she lets fly quite often. She is one of two girls that starred in a behind-the-scenes promotional video that was recently filmed for the studio, and she stole the show.
To look at her, you may be surprised to find out that she has a pet snake. But what intrigued me most was when I found out that she can cross just one of her eyes...which I of course demanded that she demonstrate when she came in for her session. I did have to promise that it wouldn't show up in the promo video.
Look for more to come from Sarah later this year, But please take a look at a few images from Sarah's first session.
This is a DIY tutorial on changing the appearance of a 40-year old telescope into a vintage-looking 400-year old telescope of tarnished brass.
This telescope had been in my parent's basement for 30 years. It was an inexpensive 1970's era Bushnell telescope that was purchased at a garage sale for a couple of dollars in the late 1970s. As I am prone to do, when my parents were throwing it away a couple of years ago, I said, "I'll take it....I can make something out of it."
It took a couple of years until I started, but I just finished it and it looks exactly how I had imagined it. Upon close inspection, it won't be mistaken for a museum piece, but for the studio, it certainly fits the bill.
After disassembling the entire telescope, I used gold leafing to cover the telescope tube and any other parts that were larger in size. Follow the manufacturer's directions for the leafing that you use. And don't go cheap on the adhesive....use the adhesive sizing recommended for the gold leaf.
For the smaller parts, I used craft paint in a couple of colors that resembled tarnished brass. Don't be too careful while painting the smaller parts, I ended up dabbing the paint on with a large paint brush....you are not going for a clean look on these pieces.
When all the pieces were covered, I sprayed anything that was covered in gold leaf with a spray polyurethane in a matte finish. This protects the leafing from handling. The gold leaf is somewhat fragile even after dry and can get scraped off easily. Use a matte finish spray, because tarnished brash does not have a glossy look.
For the aging and distressing of the pieces, I used brown paint mixed with an extender that both thins the paint and retards the drying process. I applied the thinned paint with a damp paper towel, dabbing it onto the parts of the telescope that I wanted to look older. Don't apply too much paint at once...it pays to be patient and layer the paint on until you get the look you want.
Above you can see the start of the application of the brown paint on the main tube of the telescope, compared to the shiny gold-leafed lens barrel that has not been aged yet.
Maddie came into my Fairport studio for her annual portrait session. I photographed her mother's maternity session, so I've been photographing her since "before" she was born. This was the fifth time she's been in the studio, and was, by far, the most entertaining. We talked about Rapunzel's tower, Cinderella's slipper, Ariel's hair, and various other Disney princesses.
Here are some photos from this little cutie's session.
There are a few ways to take a great business portrait, and many ways to take a really bad one. Business portraits, whether you are an executive, entrepreneur, speaker, author, or are unemployed, are often the first thing that people see, as social media sites have taken over both our personal (Facebook and Twitter) and professional (LinkedIn) lives.
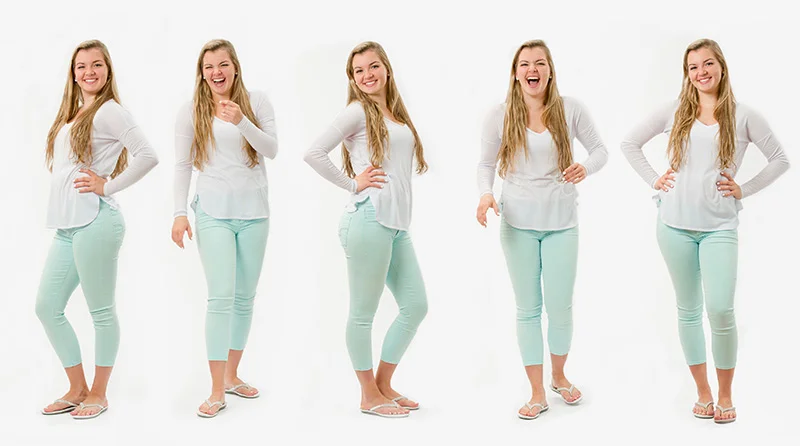
Selfies are great...if you are in high school. Candid photos at a party are great....to share with your friends. But if you want your first impression to be of someone that people can trust to hire and want to do business with, a professionally-done business portrait will put you head-and-shoulders above most other people. Choice of clothing, color of clothing, and the environment that you are in all come into play when planning and creating your portrait.
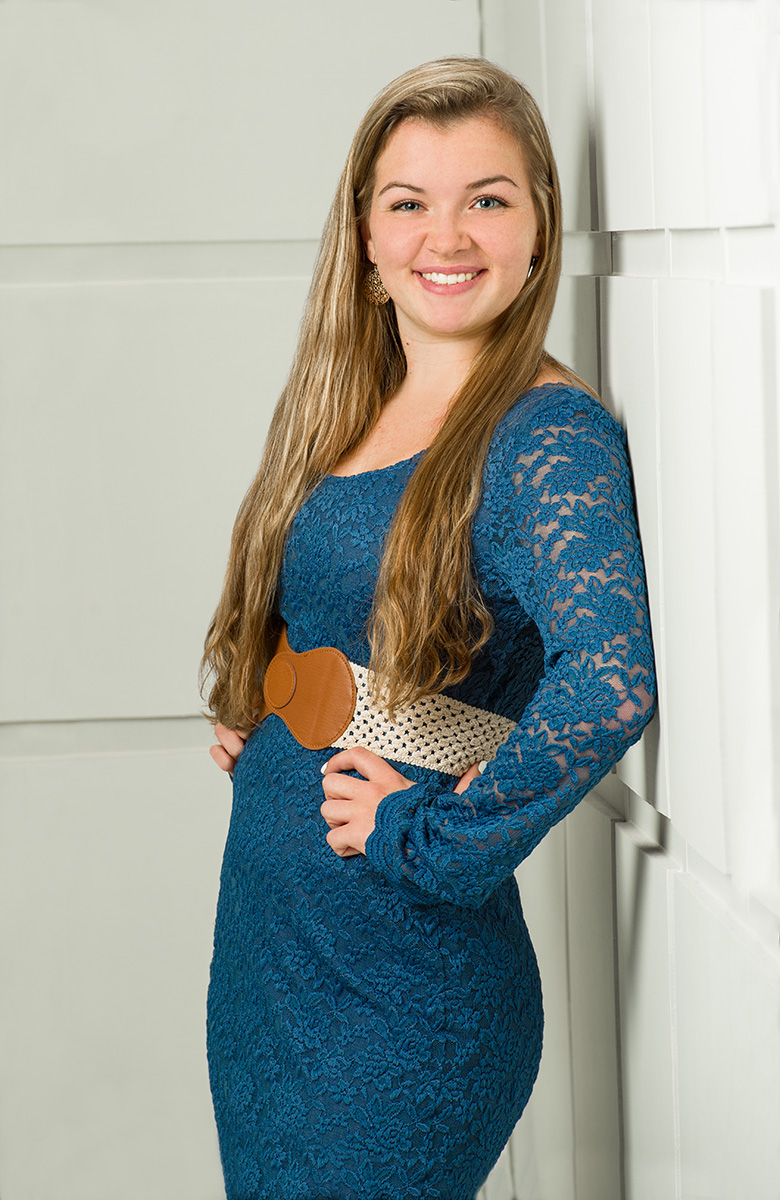
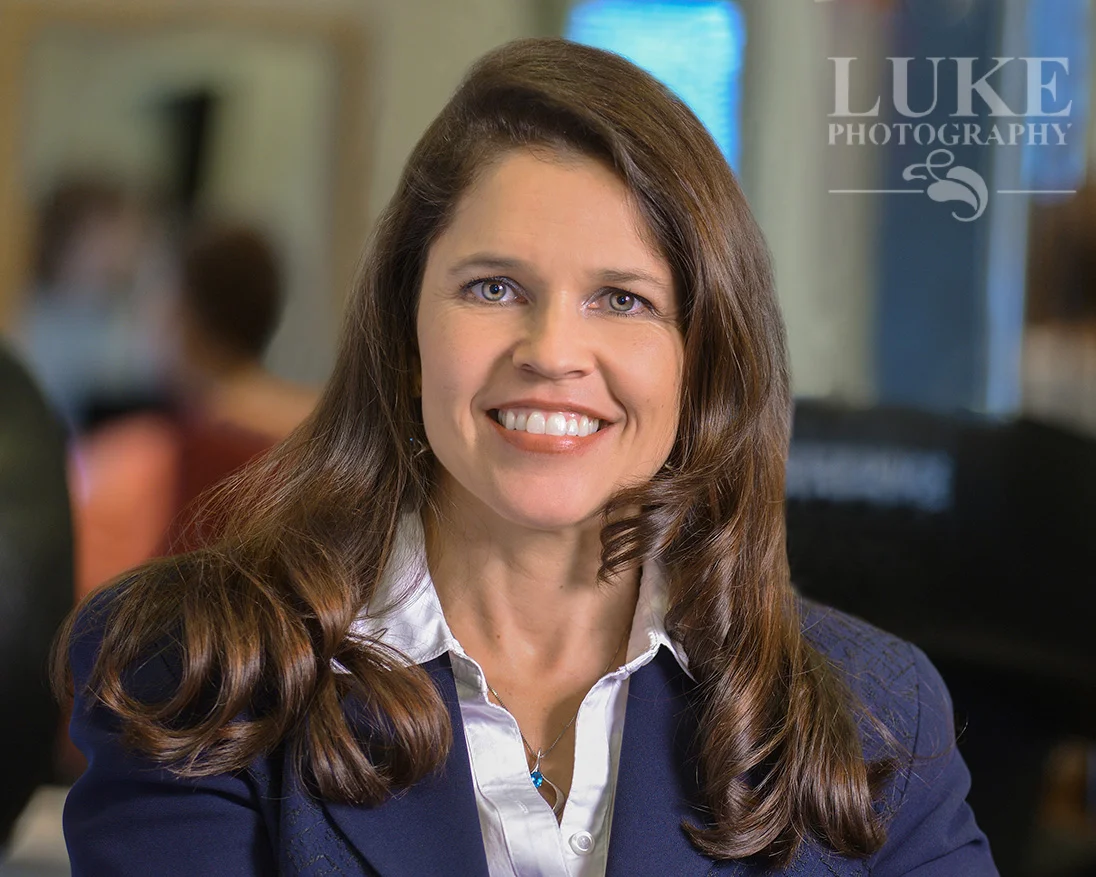
Whether it's a traditional head shot, or a more contemporary business portrait showing the environment you work in, it certainly pays to have it done well. Leave the selfies and party photos for the weekend.
But don't take it from me. A recent article in the Small Business Trends website written by CJ DiRoma implored readers to Say Cheese! 4 Reasons You Need a Business Photo Shoot.
"Too often, businesses neglect making the most of their greatest commodity when it comes to creating content for marketing initiatives – its people. With social media driving brand awareness and social engagement strategies pushing new limits in brand loyalist campaigns, more and more businesses of all sizes are maximizing the faces that make their businesses unique, trustworthy, dependable, reliable and, overall, awesome."
To read more of the Small Business Trends article, go to: http://smallbiztrends.com/2014/11/business-photo-shoot.html